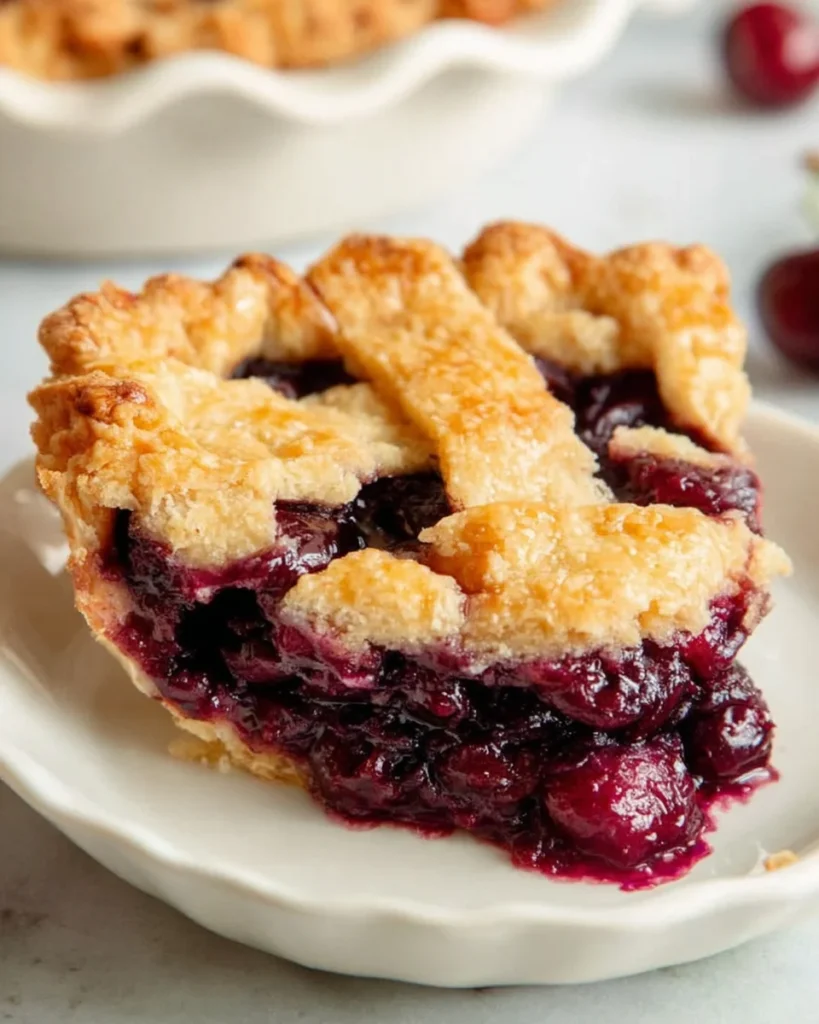
This Homemade Cherry Pie is a delightful dessert that brings together the sweet and tart flavors of fresh cherries, perfectly encased in a buttery, flaky crust. Whether you’re celebrating a special occasion or just enjoying a cozy night at home, this pie is sure to impress. Its combination of simple ingredients and easy preparation makes it accessible for bakers of all skill levels.
Why You’ll Love This Recipe
- Easy to Make: With straightforward steps, anyone can create this delicious pie without any hassle.
- Deliciously Flavorful: The balance of sweet and tart cherries makes every bite a burst of flavor.
- Versatile Dessert: Perfect for summer picnics, holiday gatherings, or simply as a comforting treat at home.
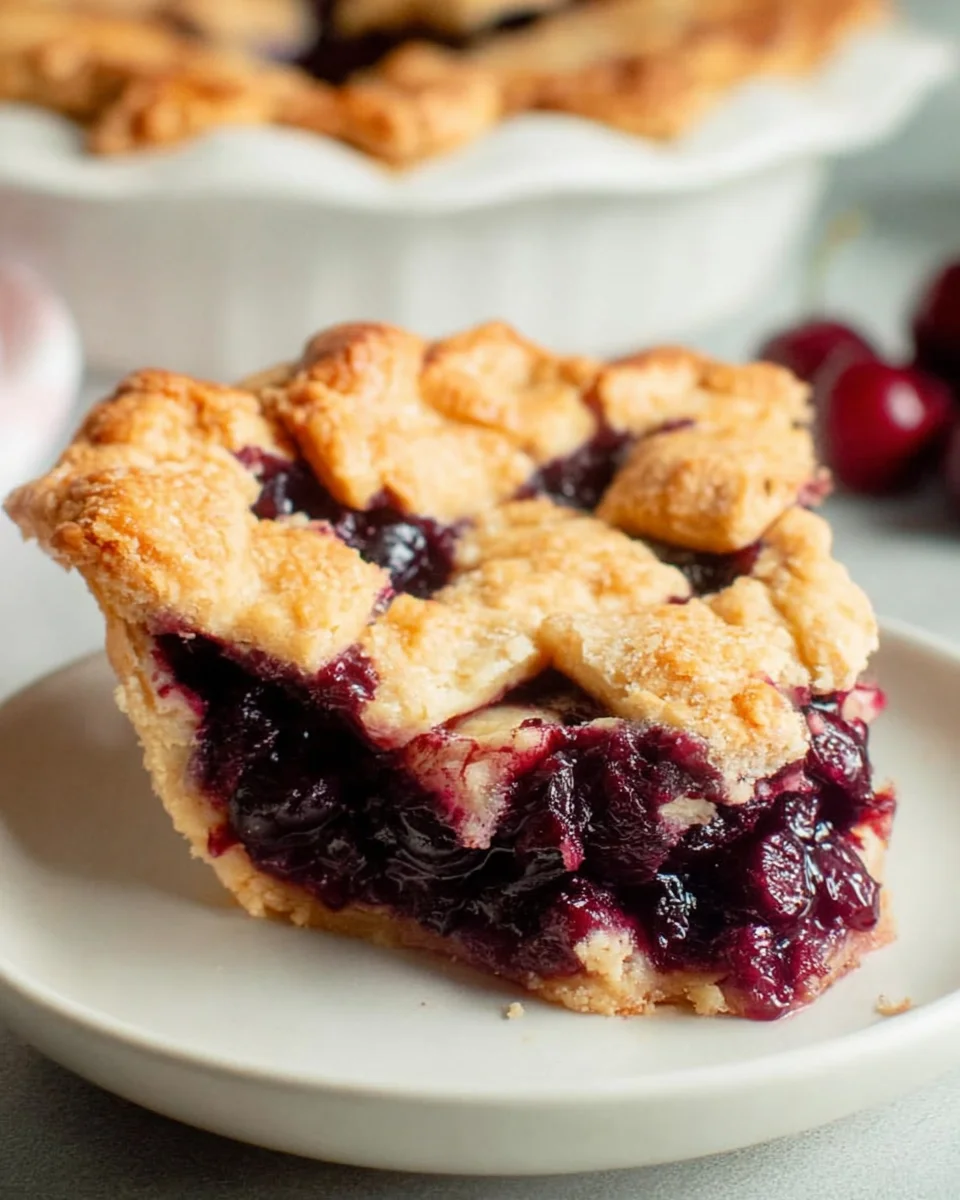
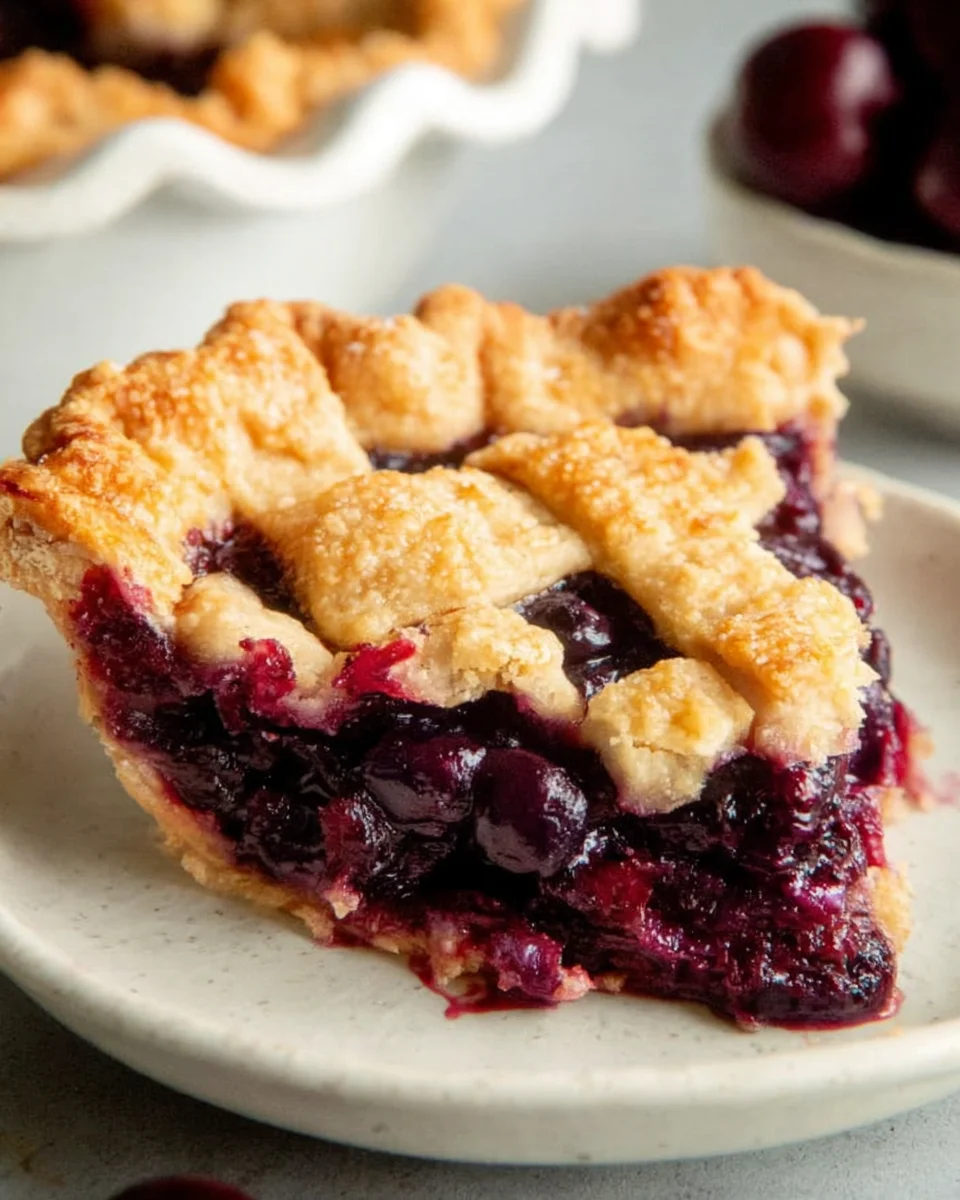
- Impressive Presentation: A beautiful cherry filling peeking through a golden crust makes for an eye-catching centerpiece.
- Family Favorite: This classic dessert is sure to be loved by kids and adults alike.
Tools and Preparation
Before diving into making your homemade cherry pie, gather the necessary tools. Having the right equipment will streamline your baking process and ensure your pie turns out perfectly.
Essential Tools and Equipment
- Pie dish
- Mixing bowl
- Rolling pin
- Measuring cups and spoons
- Sharp knife
Importance of Each Tool
- Pie dish: Provides the perfect shape for your crust and helps achieve even baking.
- Mixing bowl: Essential for combining ingredients efficiently, ensuring even mixing.
- Rolling pin: Helps in rolling out the dough evenly for a flaky crust.
Ingredients
This homemade cherry pie is made with a delicious and easy cherry pie filling and the easiest buttery and flakey pie crust.
For the Pie Crust
- 2 1/2 cups Flour
- 1/2 tsp Kosher salt
- 1 cup Butter
- 2 tbsp Granulated sugar
- 7 tbsp Ice water
For the Cherry Filling
- 5 cups Cherries
- 2/3 cup Granulated sugar
- 1 tbsp Lemon juice
- 1/4 cups Cornstarch
- 1 tsp Vanilla extract
- 1 tsp Lemon zest
How to Make Homemade Cherry Pie
Step 1: Prepare the Pie Crust
- In a mixing bowl, combine flour, salt, and granulated sugar.
- Cut in butter until mixture resembles coarse crumbs.
- Gradually add ice water, stirring until dough comes together.
- Divide dough into two balls, flatten into disks, wrap in plastic wrap, and refrigerate for at least 30 minutes.
Step 2: Make the Cherry Filling
- In another bowl, combine cherries with granulated sugar, lemon juice, cornstarch, vanilla extract, and lemon zest.
- Gently toss until cherries are fully coated.
Step 3: Assemble the Pie
- Preheat your oven to 425°F (220°C).
- Roll out one disk of chilled dough on a floured surface to fit your pie dish.
- Place rolled-out dough in the pie dish and fill it with the cherry mixture.
- Roll out the second disk of dough for the top crust; place it over the filling.
- Seal edges by crimping them with your fingers or a fork.
Step 4: Bake the Pie
- Cut slits in the top crust to allow steam to escape.
- Bake in preheated oven for 45-55 minutes or until crust is golden brown.
- Let cool before serving to allow filling to set.
Enjoy this delightful homemade cherry pie as a sweet ending to any meal!
How to Serve Homemade Cherry Pie
Homemade cherry pie is a delightful dessert that can be enjoyed in various ways. Whether you prefer it warm or cold, there are many delicious ways to serve this classic treat.
A La Mode
- Vanilla Ice Cream: A scoop of creamy vanilla ice cream adds a rich and sweet contrast to the tart cherries.
- Whipped Cream: Light and fluffy whipped cream on top enhances the flavors and adds a touch of elegance.
With Fresh Fruits
- Berries: Serve with fresh strawberries or blueberries for an extra burst of flavor and color.
- Sliced Bananas: The sweetness of bananas complements the tartness of the cherry filling beautifully.
Gourmet Touches
- Chocolate Drizzle: A drizzle of melted chocolate creates a decadent twist that chocolate lovers will adore.
- Nuts: Sprinkle some toasted almonds or walnuts for added crunch and flavor contrast.
How to Perfect Homemade Cherry Pie
Creating the perfect homemade cherry pie requires attention to detail. Here are some tips to elevate your pie-making game.
- Use Fresh Cherries: Fresh cherries provide the best flavor. If they’re out of season, opt for high-quality frozen cherries.
- Chill Your Dough: Make sure your pie crust dough is chilled before rolling it out. This helps achieve that flaky texture.
- Don’t Overfill: Be cautious with your filling; too much can cause overflow during baking. Stick to the recommended amount for best results.
- Make a Lattice Top: A lattice crust not only looks beautiful but also allows steam to escape, preventing a soggy bottom.
Best Side Dishes for Homemade Cherry Pie
Serving homemade cherry pie can be even more enjoyable with complementary side dishes. Here are some great options to consider.
- Cheese Plate: Pairing sweet pie with cheese like Brie or aged cheddar creates a delightful balance of flavors.
- Coffee or Tea: A warm cup of coffee or herbal tea makes for a cozy pairing that enhances dessert time.
- Salty Snacks: Nuts or pretzels offer a salty contrast that balances the sweetness of the pie perfectly.
- Fruit Salad: A light fruit salad refreshes the palate and adds variety after indulging in rich pie.
- Pudding Cups: Creamy chocolate or vanilla puddings serve as a rich side that complements the fruitiness.
- Ice Cream Sundae Bar: Set up an ice cream sundae station where guests can customize their toppings, including cherry sauce from your pie!
Common Mistakes to Avoid
Making a homemade cherry pie can be simple, but there are common pitfalls that can affect your final product. Here are some mistakes to avoid.
- crust: Using the wrong type of flour can lead to a tough crust. Always use all-purpose flour for the best results.
- overmixing: Mixing the dough too much can make it dense. Mix just until combined for a flaky texture.
- too many cherries: Adding too many cherries can make your filling runny. Stick to the recipe’s recommended amount for perfect consistency.
- skipping chill time: Not chilling the crust before baking can result in a shrinking pie. Make sure to chill your dough for at least 30 minutes.
- insufficient baking: Not baking long enough can leave your pie soggy. Ensure your pie is golden brown and bubbly for the best flavor.
Storage & Reheating Instructions
Refrigerator Storage
- Store leftover homemade cherry pie in an airtight container for up to 3 days.
- If possible, place parchment paper between slices to prevent sticking.
Freezing Homemade Cherry Pie
- Wrap your pie tightly in plastic wrap and then aluminum foil before freezing.
- It can be stored in the freezer for up to 3 months for optimal freshness.
Reheating Homemade Cherry Pie
- Oven: Preheat to 350°F (175°C), cover with foil, and heat for about 15-20 minutes until warm.
- Microwave: Heat on medium power in short bursts of 30 seconds until warmed through but not hot.
- Stovetop: Place slices in a skillet over low heat, cover, and warm for about 5-10 minutes.
Frequently Asked Questions
Here are some frequently asked questions about making homemade cherry pie.
What type of cherries should I use for Homemade Cherry Pie?
You can use fresh, frozen, or canned cherries. Fresh sour cherries provide a tart flavor, while sweet cherries offer sweetness.
Can I make Homemade Cherry Pie ahead of time?
Yes! You can prepare the filling in advance and store it in the fridge. Assemble and bake when you’re ready to serve.
What is the best way to thicken my cherry pie filling?
Using cornstarch is effective for thickening your filling. Mix it well with sugar before adding it to your cherries.
Can I customize my Homemade Cherry Pie?
Absolutely! Feel free to add spices like cinnamon or nutmeg for extra flavor or mix in other fruits like raspberries or blueberries.
Final Thoughts
This homemade cherry pie is not only delicious but also versatile. Its comforting flavors make it perfect for any occasion. Don’t hesitate to try this recipe and customize it with your favorite ingredients!
Homemade Cherry Pie
Homemade Cherry Pie is a classic dessert that combines the sweet and tart flavors of fresh cherries enveloped in a buttery, flaky crust. This delightful treat is perfect for any occasion—from summer picnics to cozy family gatherings. With simple ingredients and an easy-to-follow recipe, bakers of all skill levels can create this impressive centerpiece that will leave everyone asking for seconds. Indulge in a slice of nostalgia with every bite, as the vibrant cherry filling and golden crust evoke warm memories and joyful moments.
- Prep Time: 30 minutes
- Cook Time: 50 minutes
- Total Time: 1 hour 20 minutes
- Yield: Serves 8
- Category: Dessert
- Method: Baking
- Cuisine: American
Ingredients
- 2 1/2 cups all-purpose flour
- 1/2 tsp kosher salt
- 1 cup unsalted butter (cold)
- 2 tbsp granulated sugar
- 7 tbsp ice water
- 5 cups fresh cherries (pitted)
- 2/3 cup granulated sugar
- 1 tbsp lemon juice
- 1/4 cup cornstarch
- 1 tsp vanilla extract
- 1 tsp lemon zest
Instructions
- Prepare the pie crust: In a bowl, mix flour, salt, and sugar. Cut in butter until crumbly. Add ice water gradually until dough forms. Divide into two disks, wrap in plastic, and refrigerate for at least 30 minutes.
- Make the cherry filling: Combine cherries, sugar, lemon juice, cornstarch, vanilla extract, and lemon zest in a bowl; toss gently to coat.
- Assemble the pie: Preheat oven to 425°F (220°C). Roll out one disk of dough to fit your pie dish; fill with cherry mixture. Roll out second disk for the top crust and seal edges.
- Bake: Cut slits in the top crust for steam to escape. Bake for 45-55 minutes or until golden brown. Cool before serving.
Nutrition
- Serving Size: 1 slice (112g)
- Calories: 270
- Sugar: 23g
- Sodium: 150mg
- Fat: 15g
- Saturated Fat: 9g
- Unsaturated Fat: 4g
- Trans Fat: 0g
- Carbohydrates: 33g
- Fiber: 2g
- Protein: 3g
- Cholesterol: 30mg